This is how I have sorted my developing of B&W film namely Ilford FP4 plus although other films are dealt with in a similar way.
Thanks to Nomad on photography-forum.org for his help.
My first film wasn’t a great success pretty flat so I shot another roll and processed it slightly different mainly increased the agitation of the developer and the negatives look much better.
I used Ilford FP4 Plus film and loaded it into a Paterson system4 developing drum using a film changing bag to load the spiral and get the film into the drum for processing.
Option B if you don’t have a film changing bag is to load the film under the bedsheets.
The process is pretty straight forward and as long as you take reasonable care and work to a set routine the results should be consistent.
First thing I do is get a plastic bucket of water at 20degrees C and lay a plastic binbag on the kitchen worktop.
I keep the containers of chemicals in a plastic bin and use one shot developer and fixer which makes life easier.
The basic process is firstly to load the film into the process drum, develop, fix and final wash and dry, then scan images to PC.
- Load the film in the dark inside a changing bag onto a spiral and into the developing drum.
- Add developer Kodak HC-110 using solution B which is 1+31 and as I require 500ml to process a roll of 120 film then I need 16ml of developer and 484ml of water.After adding the developer I put the top on and give the tank 4 inversions and each time rotate the drum 1/4 of a turn (this takes about 10 seconds) and tap the tank (gently) on the bench to dislodge bubbles at the end, I then repeat this each minute during the total developing time of 9 minutes.
I remove the developing drum cap in the last minute and a few seconds from the end pour out the developer. - Add the Fixer Tetenal Superfix Plus made up at 1+9 which is 50ml fixer to 450ml of water, I use same inversion agitation I did for developing immediately after filling then each minute for 5 minutes then open the top and check to see if the film is cleared (it is not affected by the light at this stage) I then use a jug and from the bucket do several changes off water with agitation each time to wash the film thoroughly probably 6+ changes easy as the bucket is still 3/4 full so plenty rinse water.
- I give a final rinse with Fotospeed RA50 Rinse Aid at 1+200 2.5ml to 500ml for about 30 seconds then drain off . Top tip here is use a pipette to measure out the tiny amount of Rinse aid if you don’t have one I have found a plastic drinking straw works well dip it in the bottle and place a finger on the end and draw the straw out of the liquid move over to the 500ml of final rinse lift your finger of the end of the straw and the rinse aid will be added to the water.
- Affix a weighted film clip to the end of the film and unwind and put another clip on the other end of the film and hang to dry.
- Cut the dried film into 4 exposures per strip and scan on film scanner.
Easy 🙂
The whole thing took about 1/2 an hour to process the film plus the scanning time on top of that.
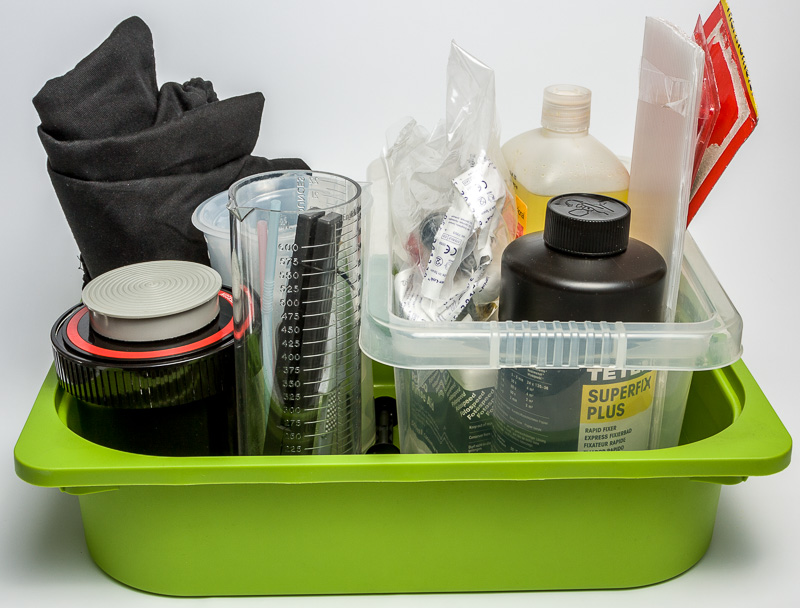
Here is my “kit” for developing film (B&W) everything I need except the bucket of water at 20degrees centigrade.
I got a shallow box from Ikea to fit it all in and it slides in to the shelf in my small cupboard the bottles of chemicals are in a small plastic bin just in case there is a leak…always better to be prepared 🙂
And had a play in Photoshop to make one of those textbook key map illustrations.
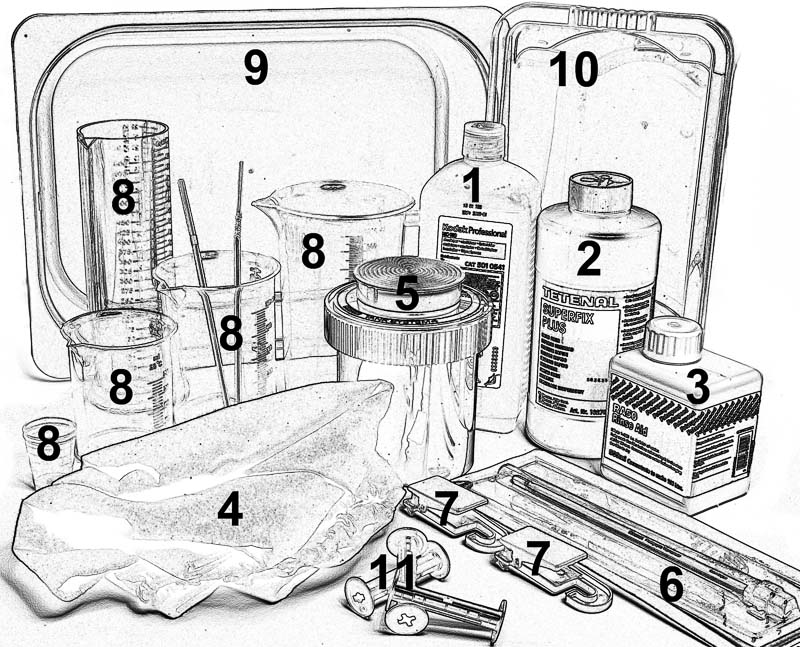
- Kodak HC110 Developer
- Tetenal Superfix plus Fixer
- RA50 Rinse aid
- Film changing bag
- Paterson System 4 Developing tank
- Thermometer
- Film drying clips
- Measuring beakers
- Tray
- Chemical storage bin
- Used 120 film spools
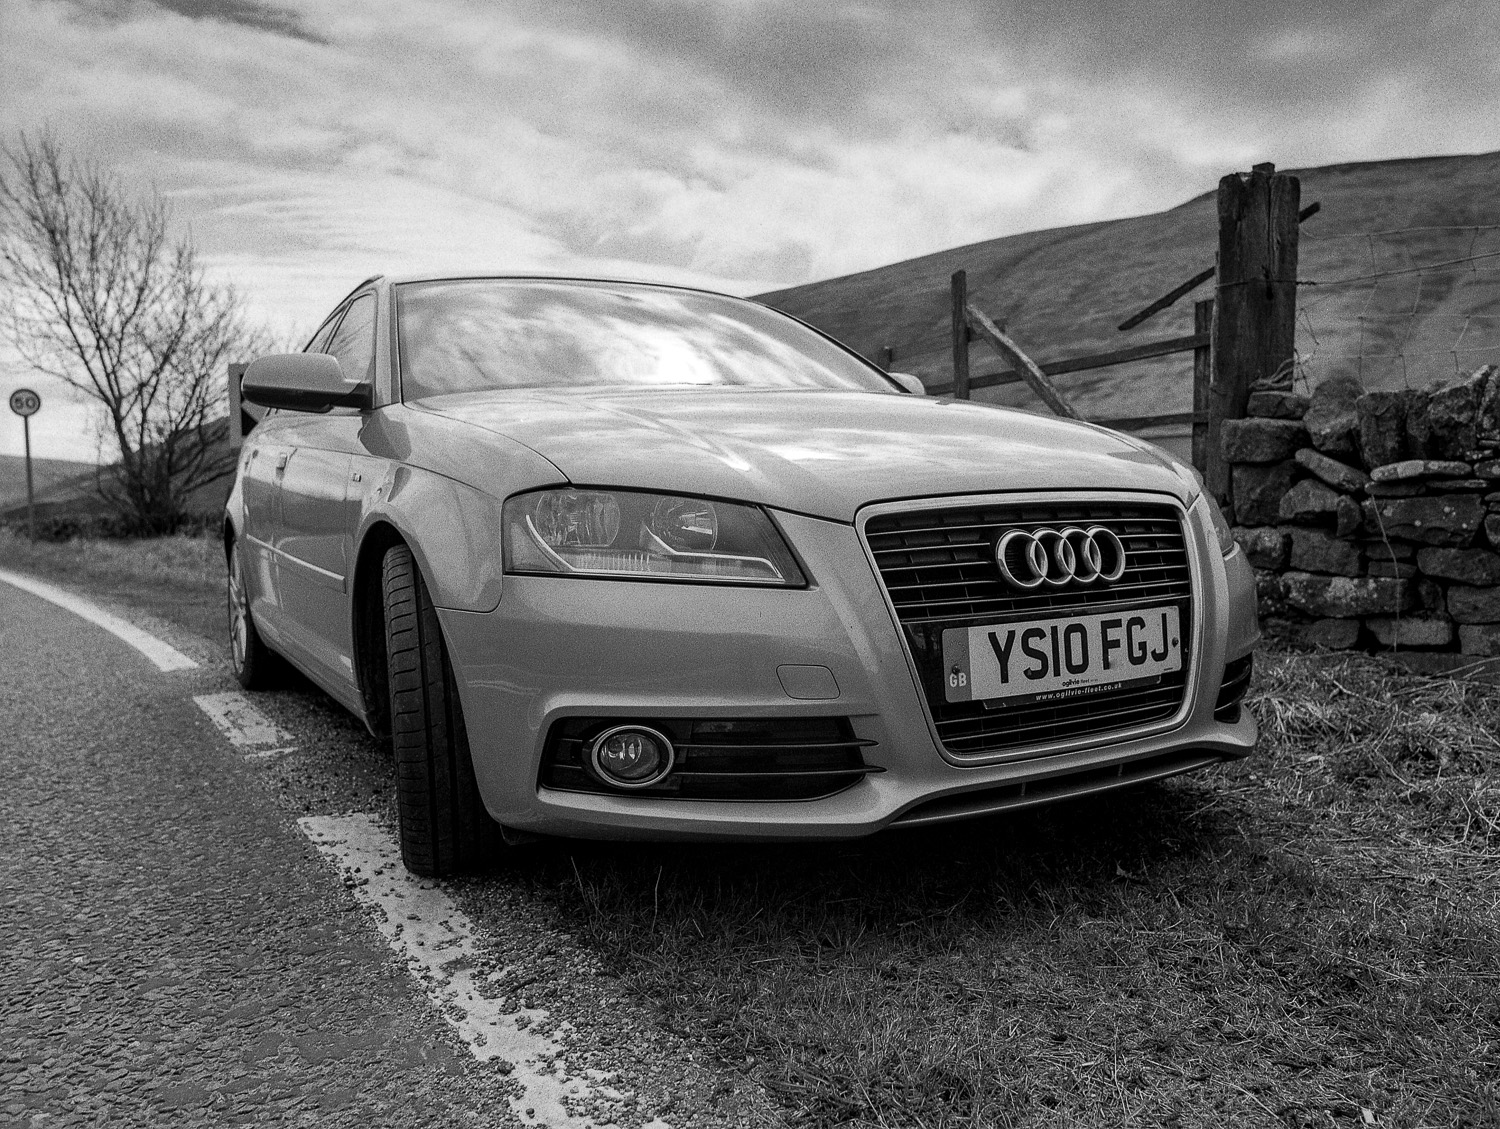
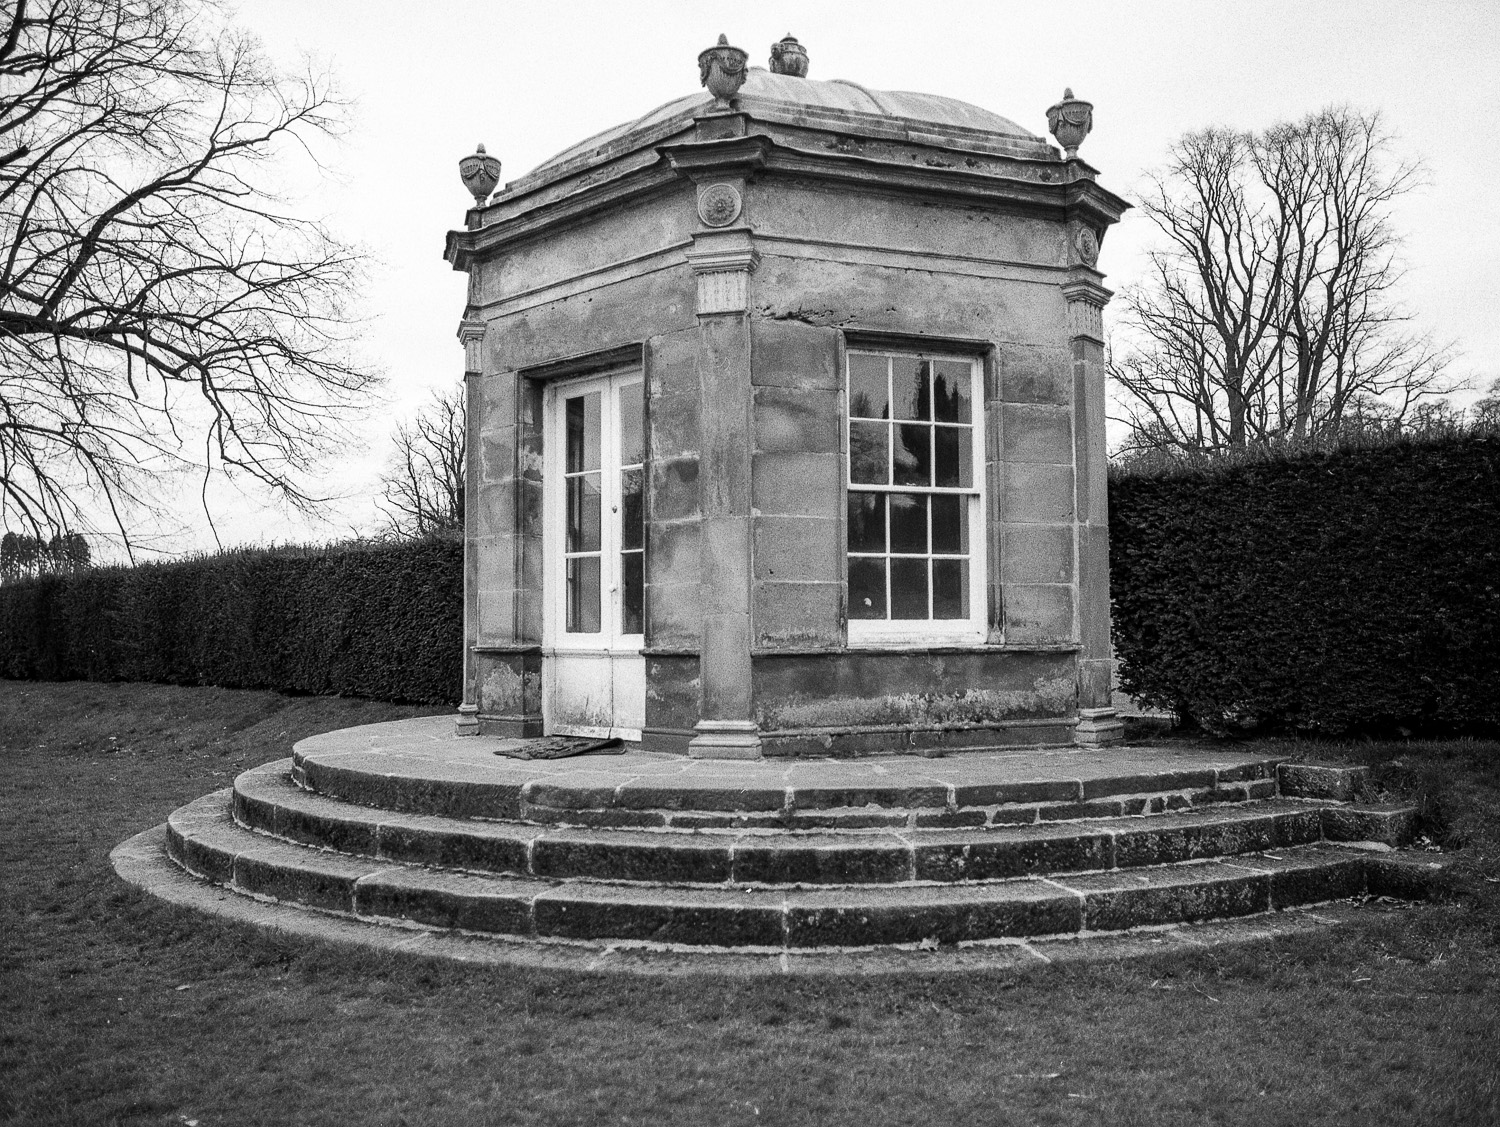
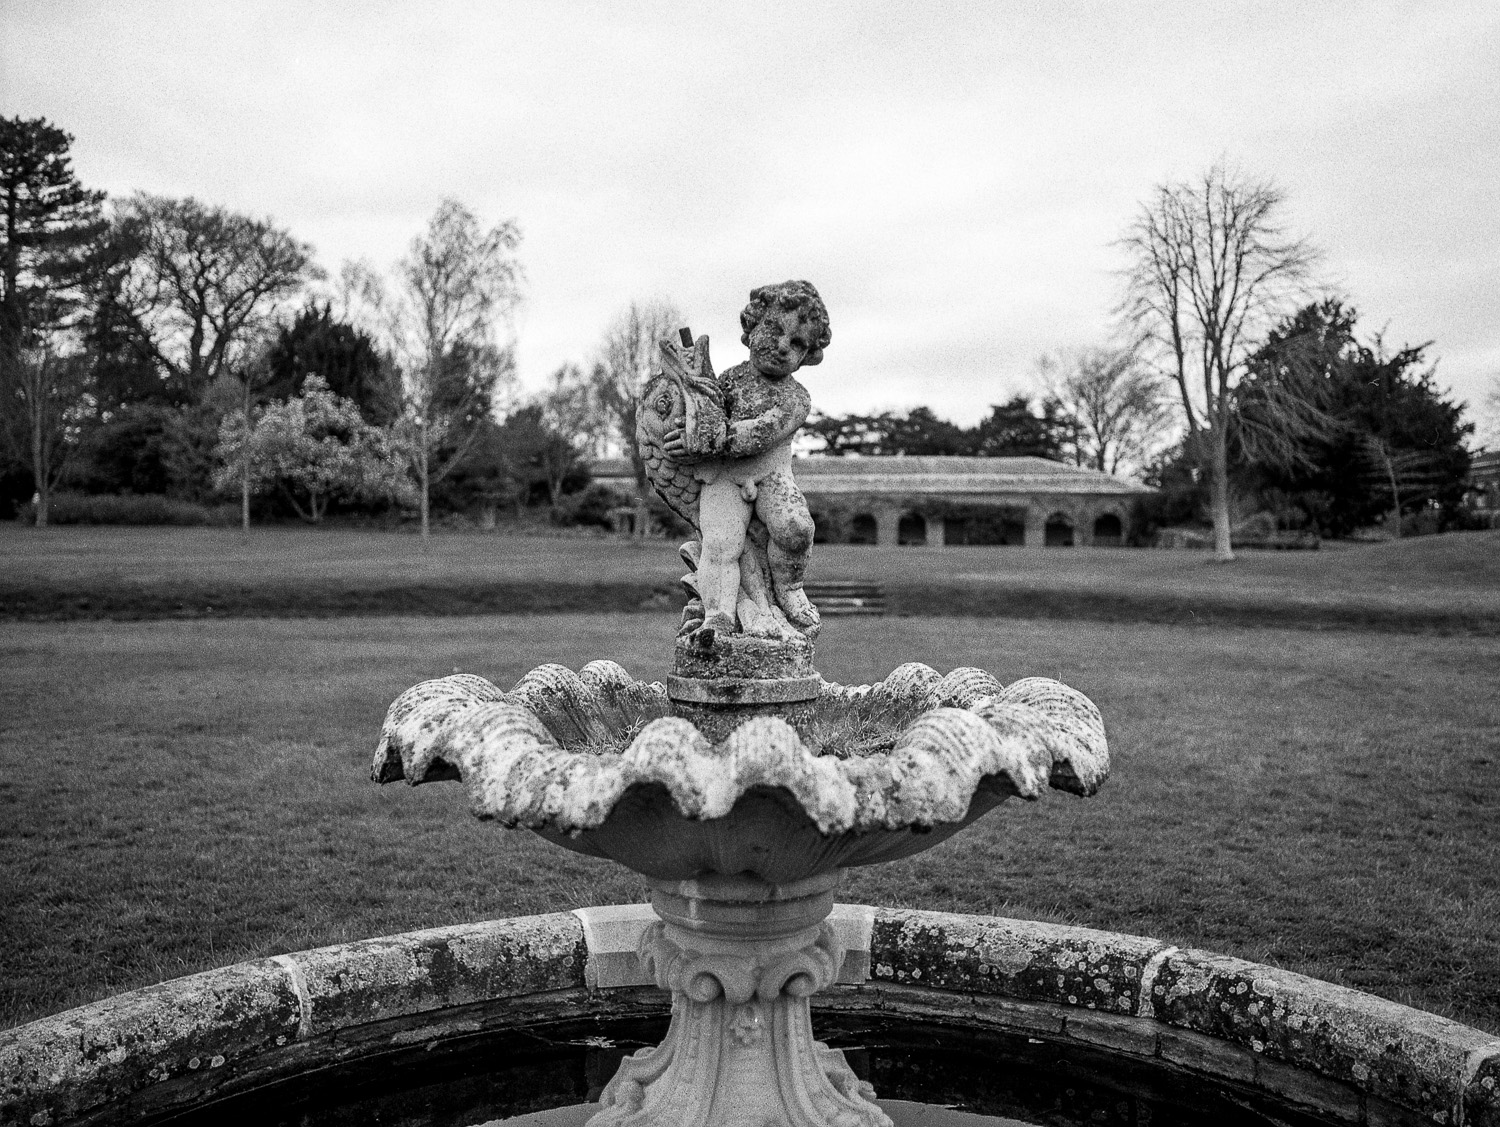
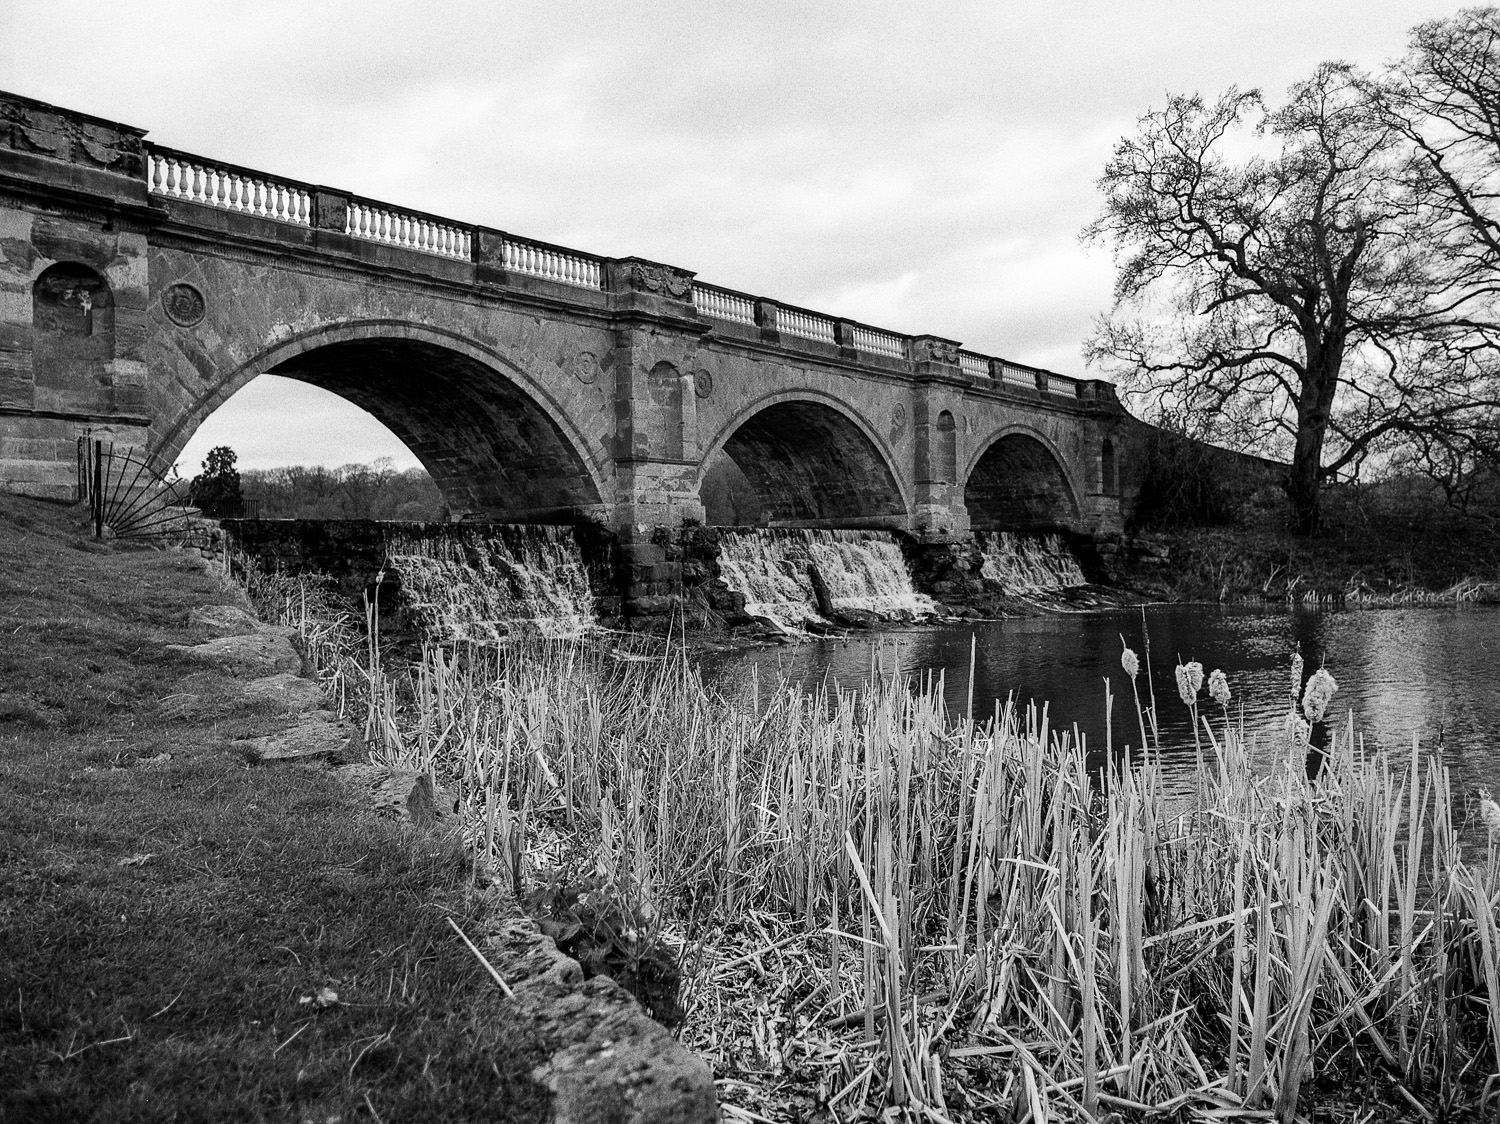
Here are a few of the results from film number 2 🙂
Just need to take better images now.
Note :amended step 3 from washing under the tap to using water from the bucket kinder than massive temperature change.